*UPDATED* – September 10th 2019
This post originally outlined the major changes to how mobile apps need to ask for access to user’s location data – a change which came most notably with the release of iOS11. Now, we continue to add useful examples to this article as a how-to hub for opt-in priming – showing you how to build proactive, clear, value-based user consent into your permission flows, keep your app opt-in rates high, and your user retention even higher.
In this article we’ll cover:
- iOS permissions as they stand
- What you need to do to gain access to the right location permissions
- 10 inspirational examples for different industries
iOS permissions as they stand
In a nutshell, app publishers will be required to ask for all the location permissions as opposed to just the ones they prefer. These compulsory location permissions are: ‘Never’, ‘When in Use’, and ‘Always’.
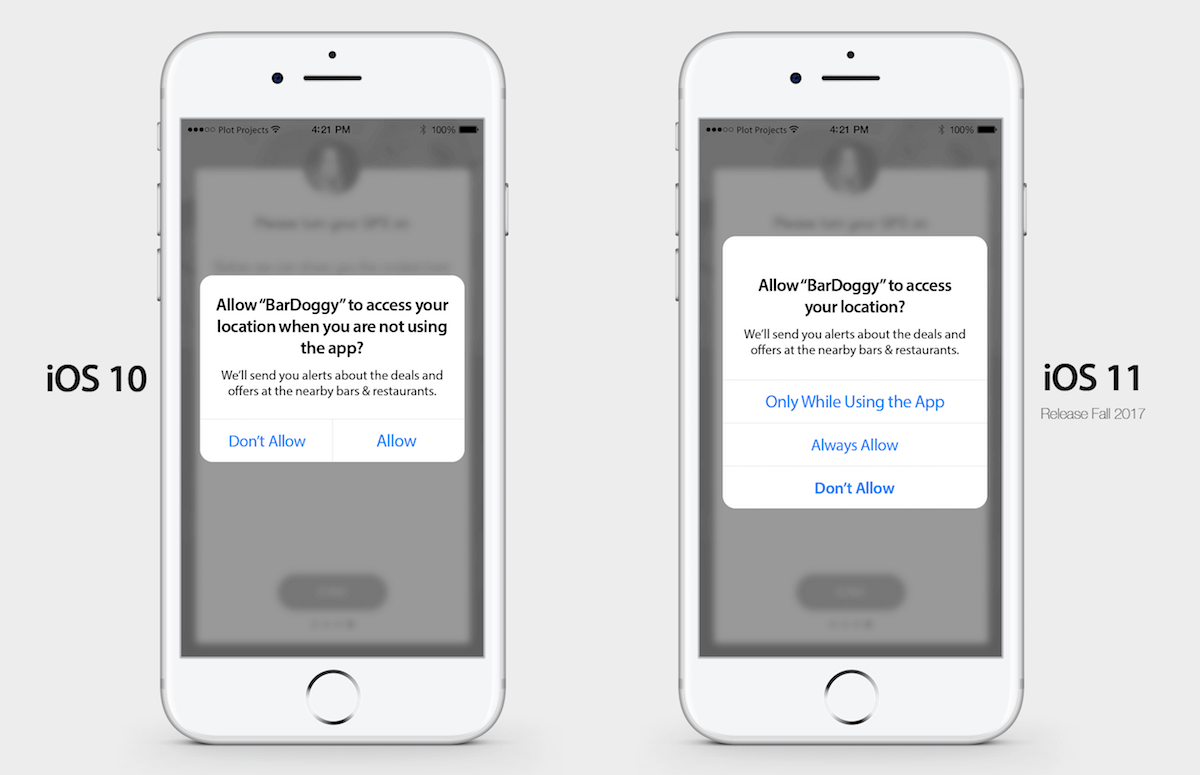
If you decide not to customize the default location permissions setup, your users will be presented with all three options when opening the app for the first time. And the trick is, if they choose ‘When in Use’, you won’t be able to ask them to upgrade to ‘Always’ later.
Our suspicion is that this new permissions set-up might decrease the opt-in rate for the ‘Always’ permission. Below, you can find 2 ways to approach this update to make sure you keep your opt-in rate up.
 |
How to Balance GDPR & Mobile Opt-in?Wondering how you could capture clear opt-in for location marketing, whilst staying GDPR compliant? This guide gives you simple tips on how to do just that.
|
What you need to do to gain the right access to location data
Approach #1: Quick but less effective “Extended Rationale”
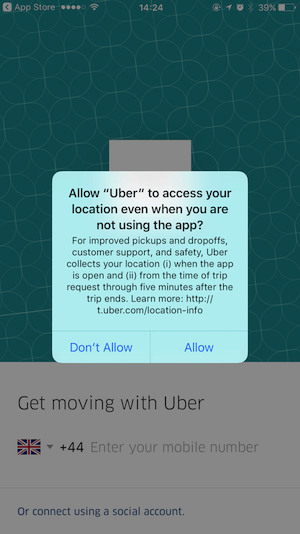
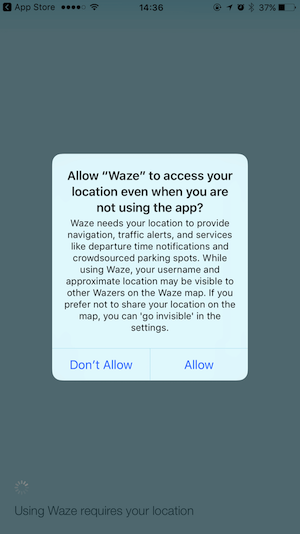
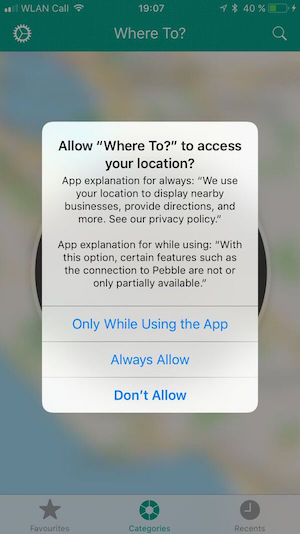
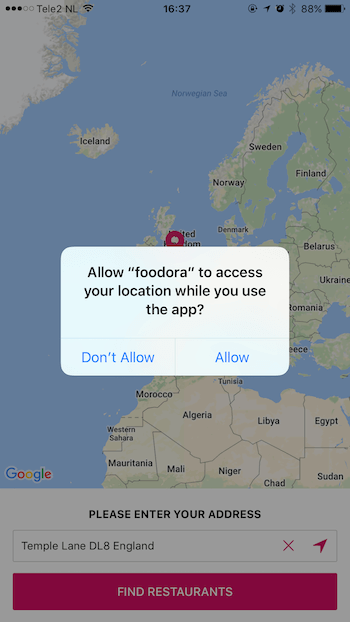
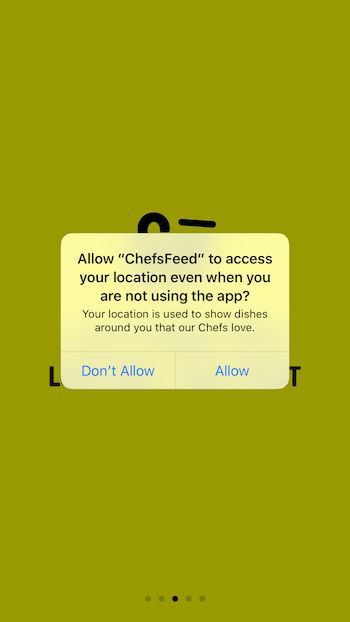
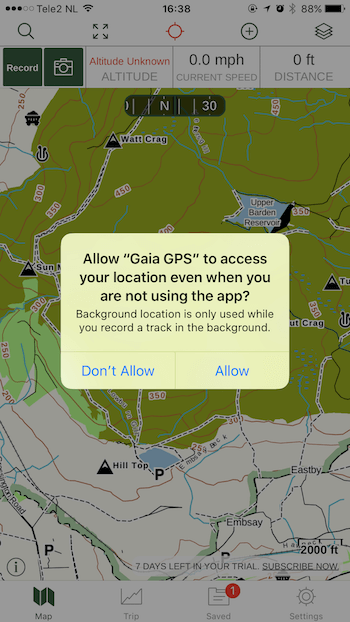
On iOS, you are required to give the reason why your app needs access to location data It’s that little paragraph that appears under the location permission question. If the rationale is missing, the location permission isn’t shown.
What you can do is create an extended rationale. See examples above. This way the standard iOS permission would stand out more and you will get a chance to explain to your users which features won’t be available without the location tracking in background.
Having said that, there is a chance users might consider the text too long and not bother reading it altogether. For this reason, we would advise you to implement the second approach, which is explained below. But if you weren’t planning on doing anything for the iOS update, please at least create an extended rationale, it’s better than nothing.
Approach #2: Long but more effective “Two-Step Looped Priming”
Why do you need to implement the long approach? The answer to this is simple: you only get one chance to do it so you better do it right. If your user decides not to grant you access to location tracking, you won’t be able to ask them again and any change of opt-in will require your user to manually change it in the app settings, which, let’s be realistic, you shouldn’t count on.
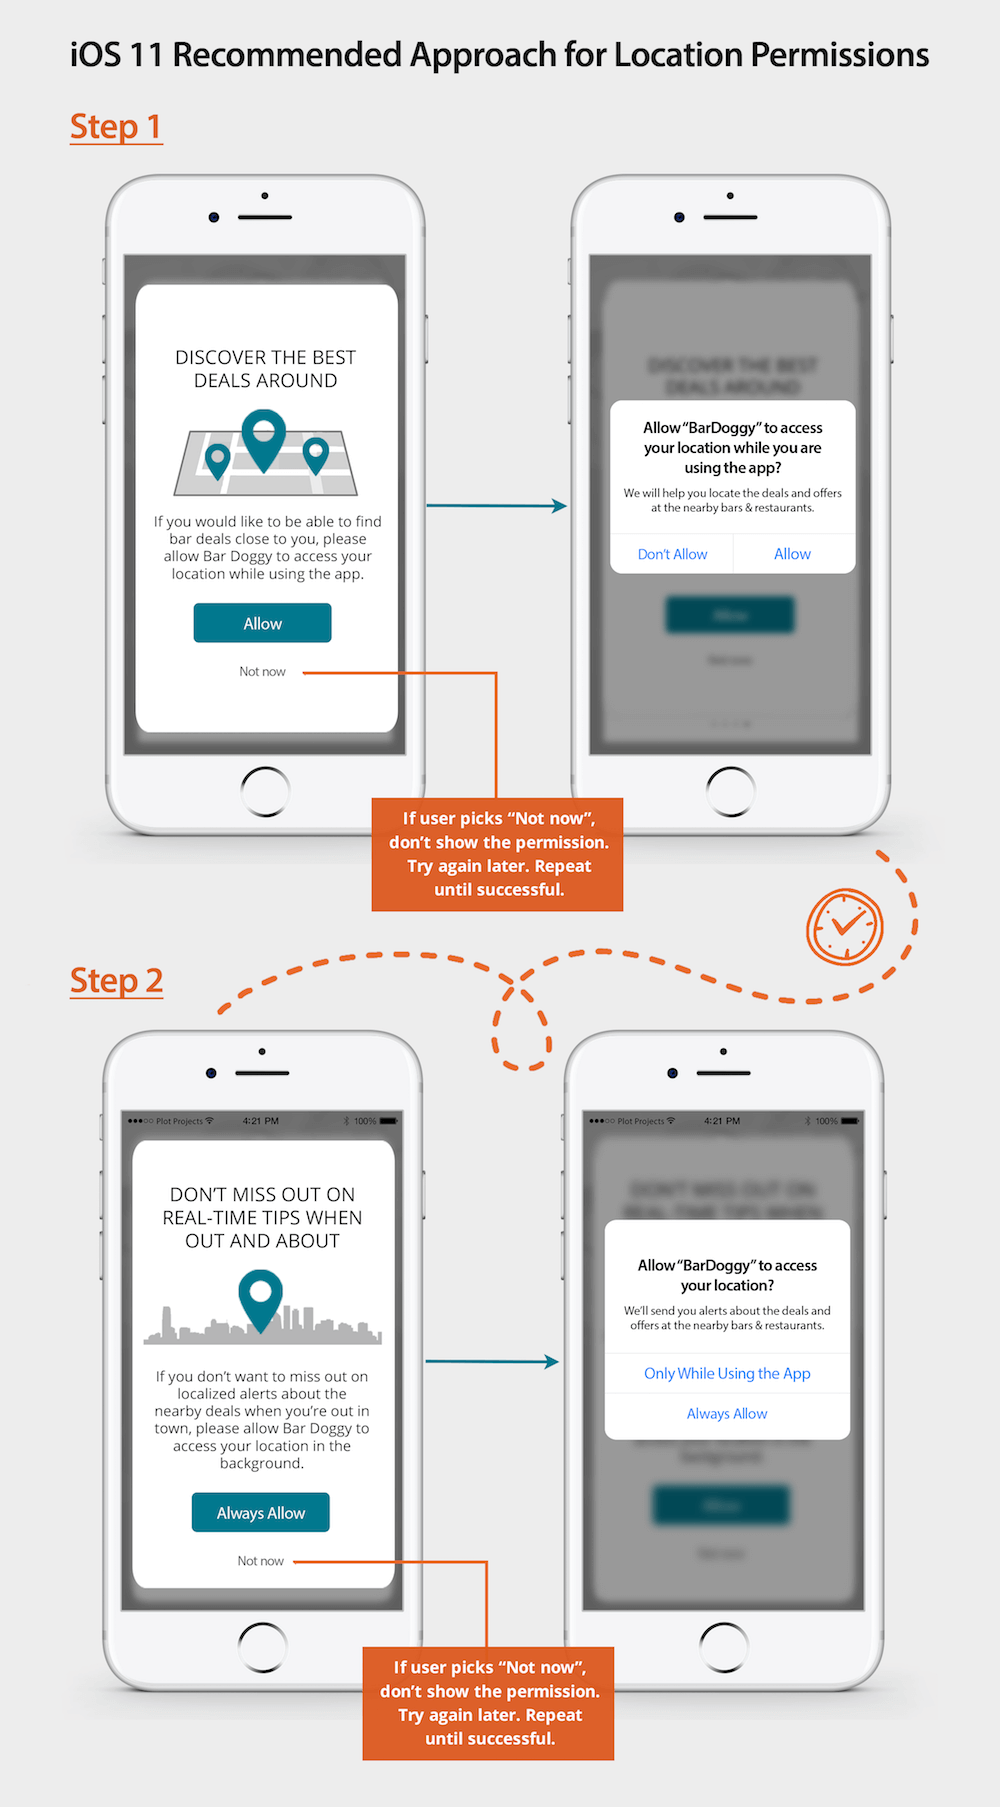
The long but effective approach is based on 3 equally important components:
1. Splitting location permissions into two steps
Showing the default permission set-up to users is pretty risky, as you only get one chance to get the right access level to location data. Therefore, the recommended way is to split this process into two steps.
You first need to ask user for ‘When in use’ permission. After some time, when the user is more engaged with the app and therefore more likely to upgrade, ask them for the ‘Always’ permission.
2. Creating priming (preparational) screens for both location permissions
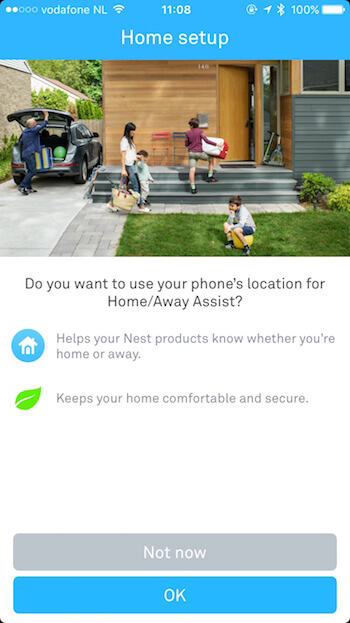
Showing location permissions, split in two parts or not, to a user without any explanation as to why you need access to their location can be overwhelming and can result in a low opt-in rate. Therefore, we recommend to prime (or prepare) your users for both of the location permissions with explanation screens.
These screens need to be clear and highlight the benefits of location tracking to the user. We recommend you also mention which features the user will be missing out on without location tracking.
3. Keeping the priming screens in a loop until successful
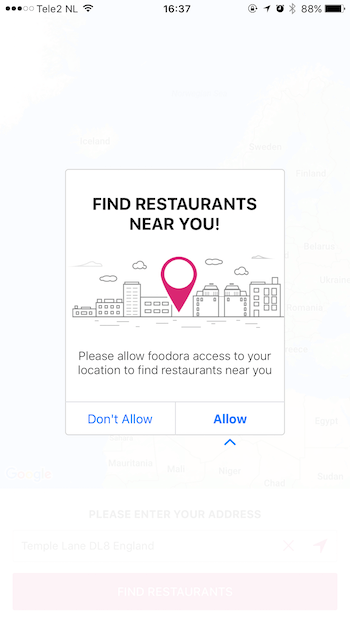
Your explanation screens need to have two buttons resembling the actual location permission buttons so that later your user can recognize them. One button is to allow location services, the other one to postpone the request.
If the user presses on the ‘Allow’ button on the priming screen, only then do you show them the actual Apple system location permission. If the user presses ‘Not now’ or ‘Later’ or whatever you decide to call it, don’t show the system permission. After some time, when the user is more engaged with the app and better recognizes the benefits of location tracking, you can show them the priming screen again. You should repeat this process until successful (nothing wrong with being persistent, but try not to be annoying. Give it some time).
This advice is applicable for both of the steps – when asking for “When in use’ and ‘Always’ location permissions. This way you can avoid your user choosing ‘Never’ on the actual Apple system location permission, and forever losing them.
10 inspirational location permission priming examples for different industries
Medical
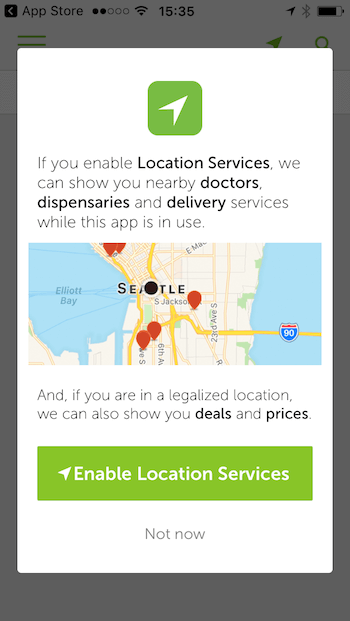
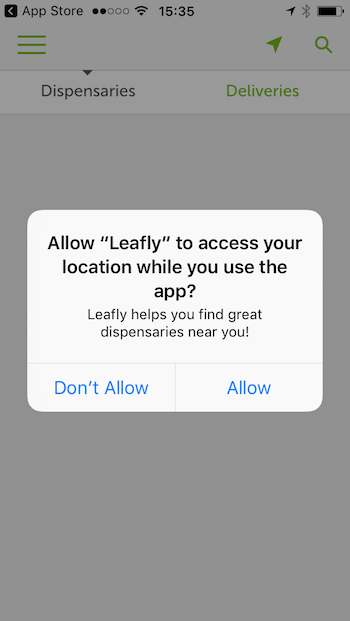
- Leafy
Health
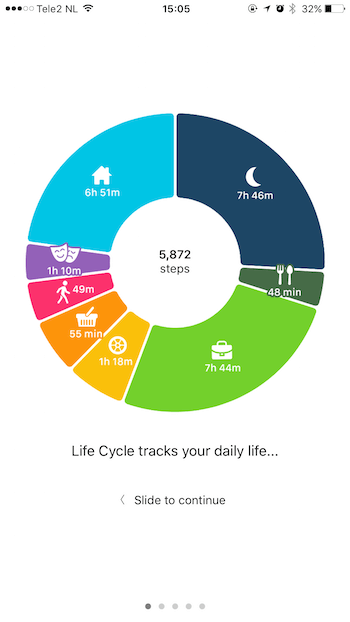
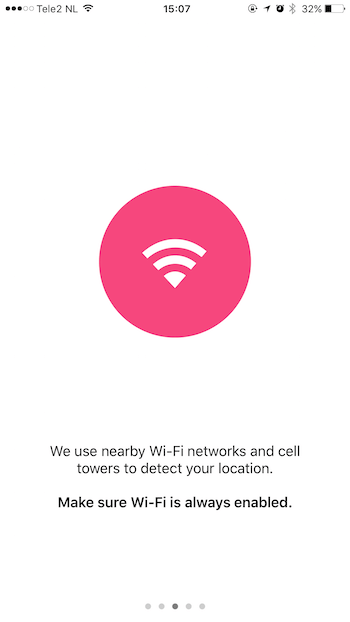
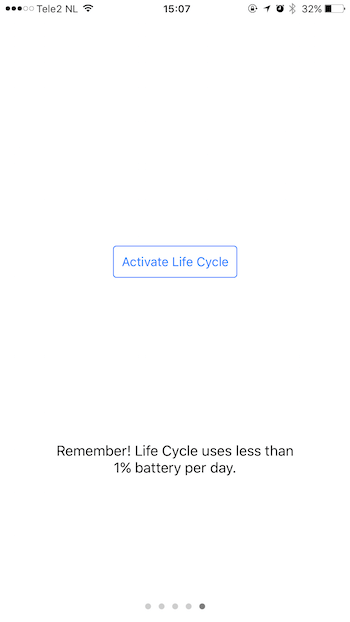
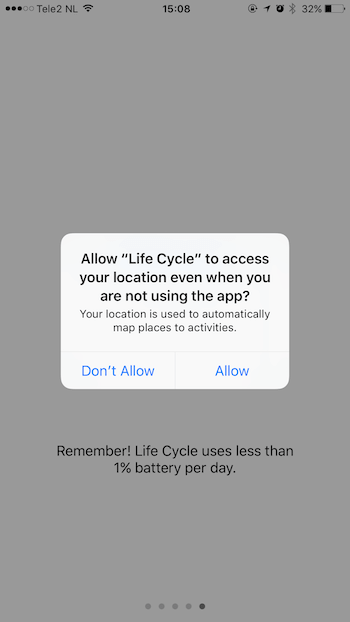
- Life Cycle
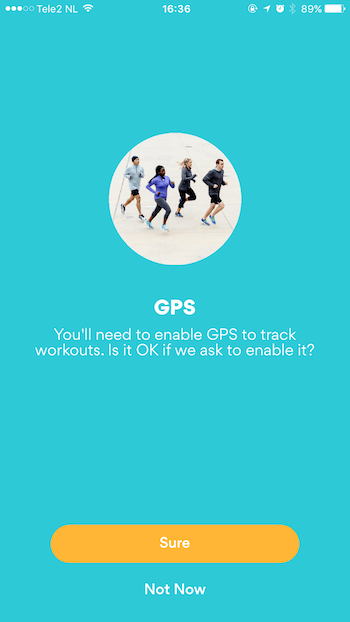
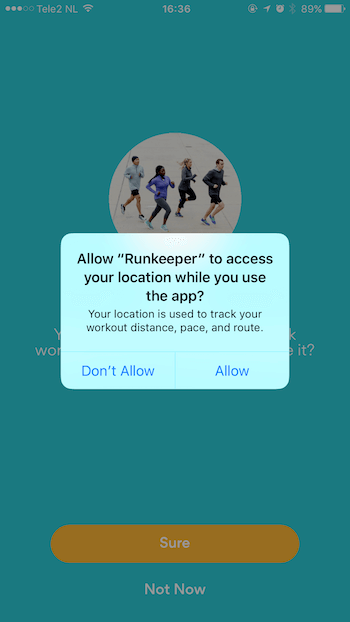
- Runkeeper
Travel
- Trip Advisor
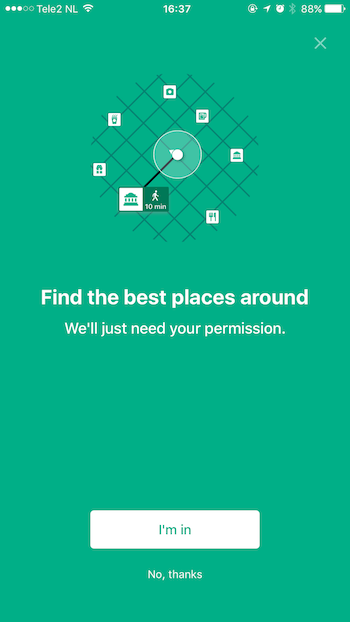
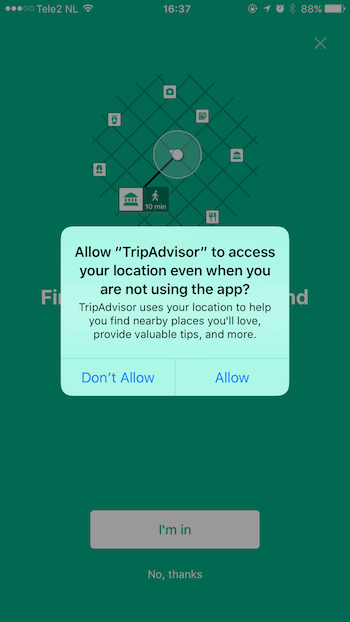
- Kiwi
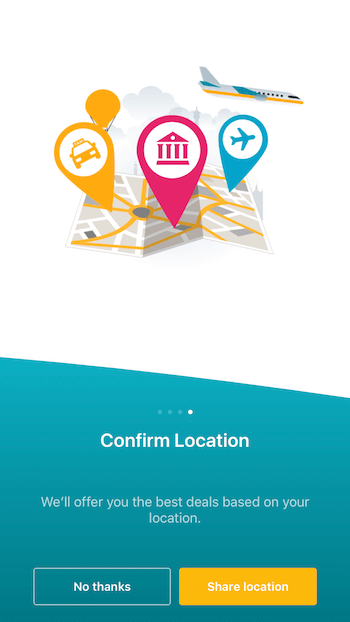
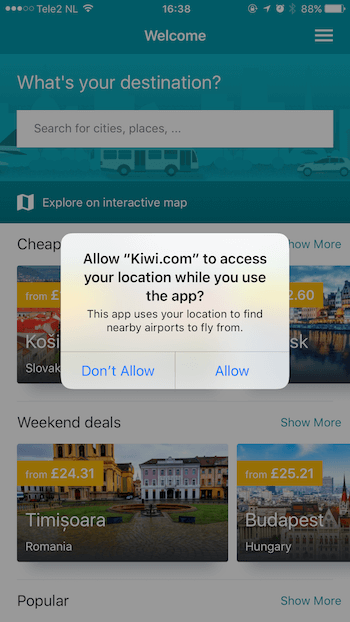
Food
- Foodora
- Chef’s Feed

Home Automation
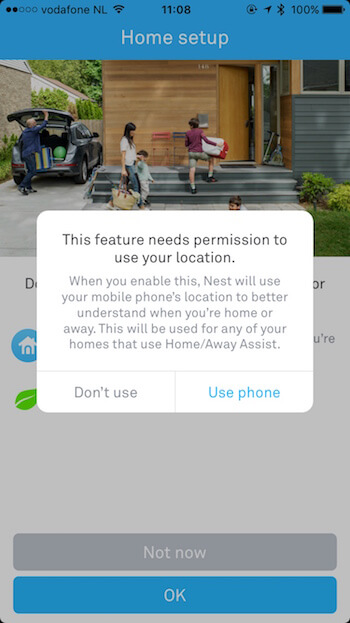
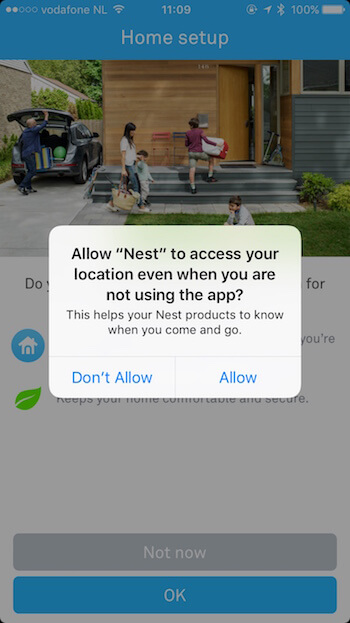
- Nest
Dating
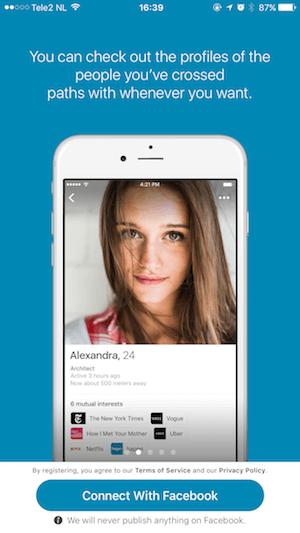
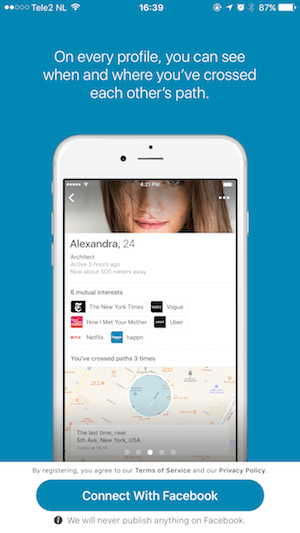
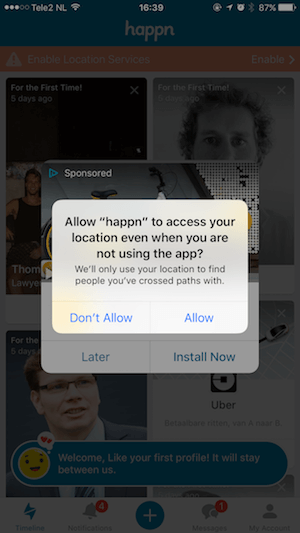
- Happn
Navigation
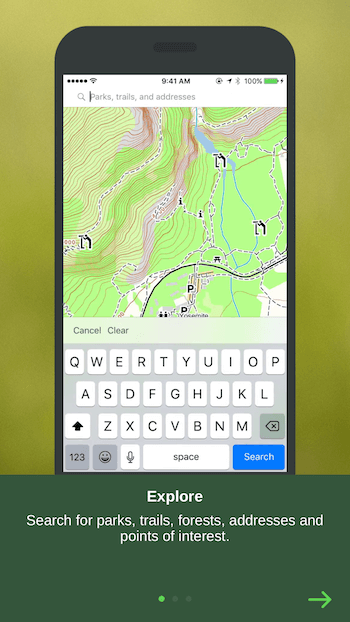
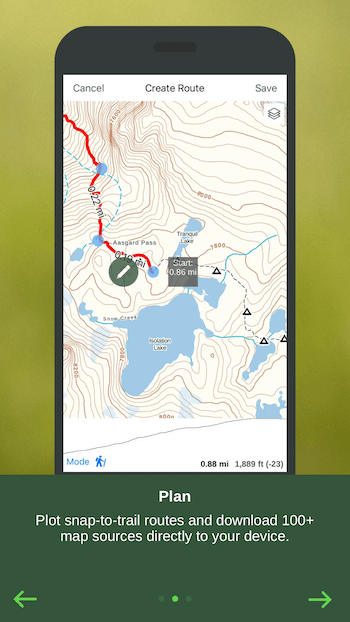
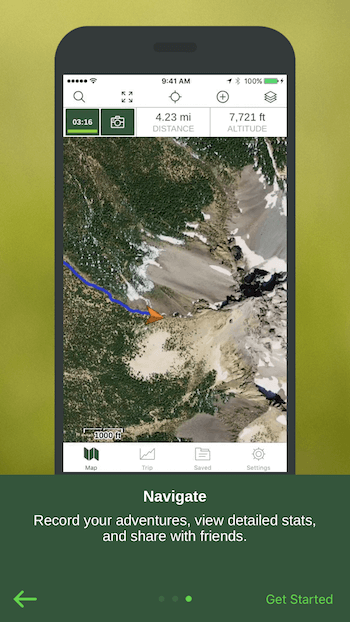
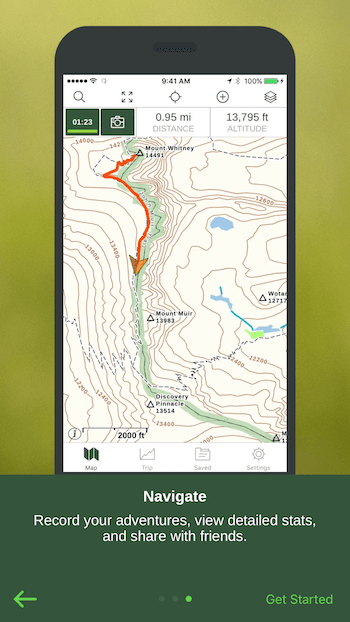
- Gaia
Next up, read our articles on:
– How to use your opt-ins to serve place-personalized content →

